> ## Documentation Index
> Fetch the complete documentation index at: https://docs.gamecart.gg/llms.txt
> Use this file to discover all available pages before exploring further.
# Create your store
> Sign up, pick your game, and set up the store address
A Gamecart account can own up to 10 stores. Each store has its own products, payments, and server connections.
## Create an account
1. Go to [dash.gamecart.gg](https://dash.gamecart.gg) and click **Sign up**.
2. Enter your email and click **Continue**.
3. Enter the 6-digit code that Gamecart sent to your email.
4. Fill in your name and password, then click **Create Account**.
5. Sign in with the new account.
Every sign-in asks for a code sent to your email. Check **Trust this browser for 30 days** to skip the code on that browser.
## Pick your game
After you sign in for the first time, the dashboard opens the store setup.
1. Under **Game**, select the game your server runs: **Minecraft**, **Hytale**, **FiveM**, or **Other / Generic**.
2. Click **Continue**.
 The game decides which delivery methods and command defaults the store offers. You can't change it later.
## Fill in the store details
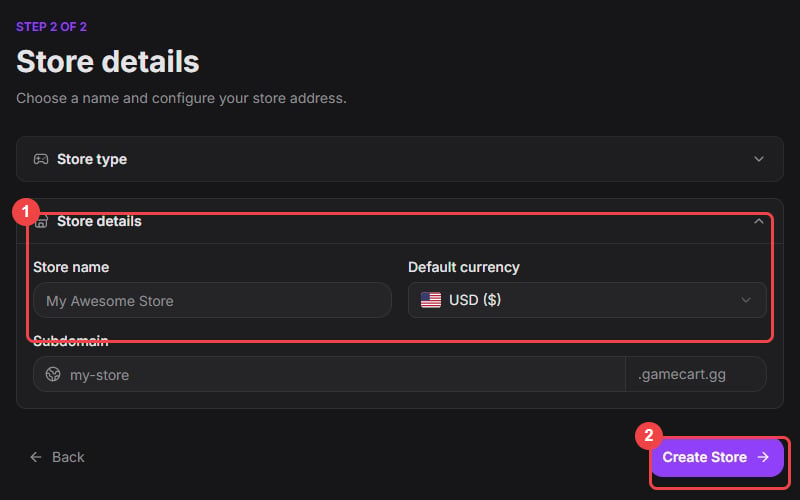
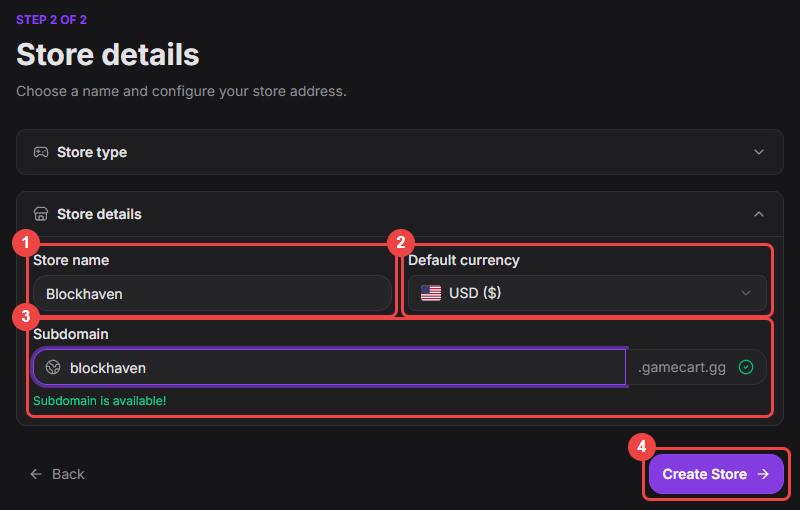
1. **Store name**: the name buyers see. Use 3 to 32 characters.
2. **Default currency**: the currency for every price and payment. Choose USD, BRL, EUR, or GBP.
3. **Subdomain**: the address of your storefront, such as `blockhaven.gamecart.gg`. The dashboard fills it from the store name and tells you whether it is available.
4. Click **Create Store**.
The game decides which delivery methods and command defaults the store offers. You can't change it later.
## Fill in the store details
1. **Store name**: the name buyers see. Use 3 to 32 characters.
2. **Default currency**: the currency for every price and payment. Choose USD, BRL, EUR, or GBP.
3. **Subdomain**: the address of your storefront, such as `blockhaven.gamecart.gg`. The dashboard fills it from the store name and tells you whether it is available.
4. Click **Create Store**.
 You can't change the currency after the store is created. Pix and Mercado Pago only work on stores that use BRL, so pick BRL if you plan to use them.
A subdomain uses 3 to 32 lowercase letters, numbers, and hyphens. It can't start or end with a hyphen. You can change it later in **Settings > Domain**, or [use your own domain](/tutorials/store-setup/custom-domain).
## Next steps
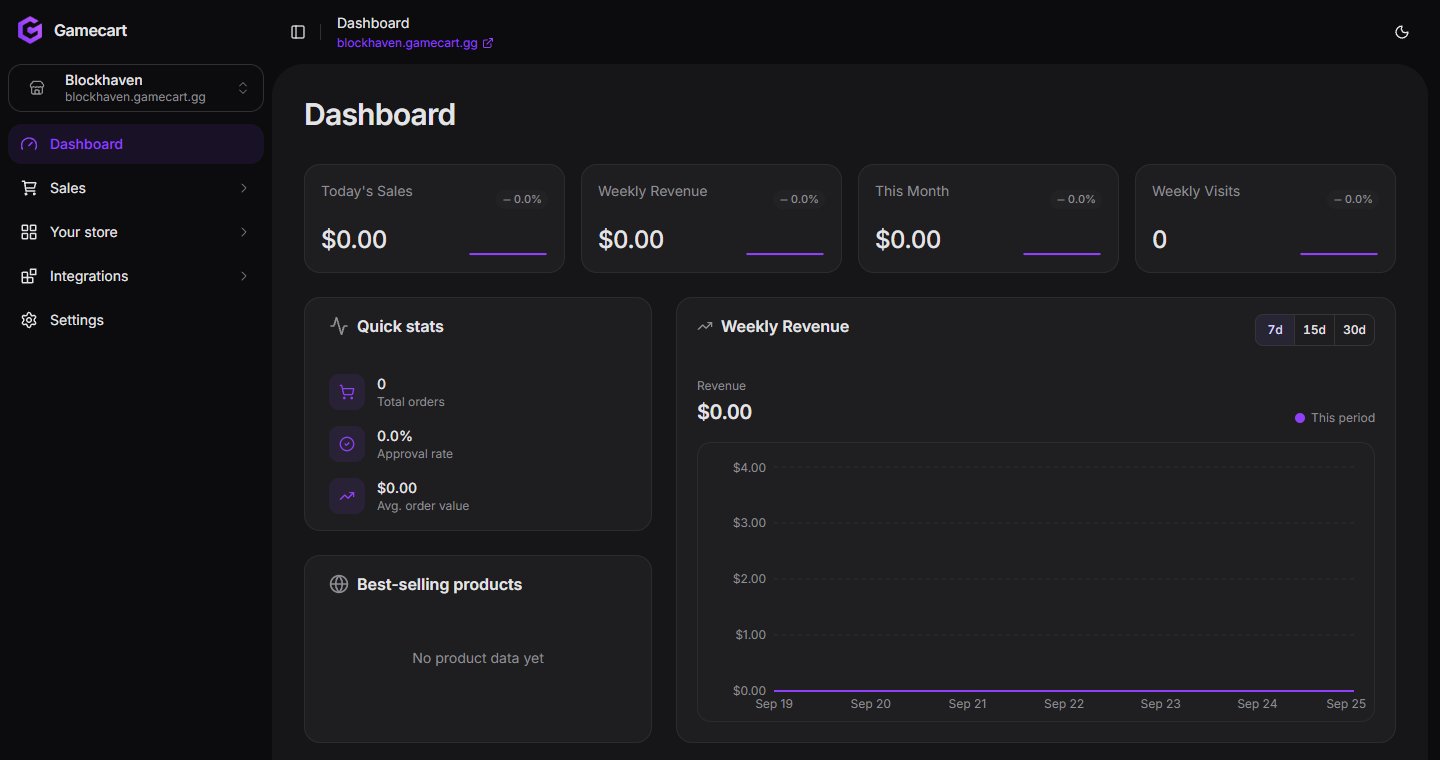
When the store is ready, the dashboard opens on its home page. The store picker in the top left switches between your stores.
You can't change the currency after the store is created. Pix and Mercado Pago only work on stores that use BRL, so pick BRL if you plan to use them.
A subdomain uses 3 to 32 lowercase letters, numbers, and hyphens. It can't start or end with a hyphen. You can change it later in **Settings > Domain**, or [use your own domain](/tutorials/store-setup/custom-domain).
## Next steps
When the store is ready, the dashboard opens on its home page. The store picker in the top left switches between your stores.
 Create categories and the products buyers can purchase.
Add the gateways buyers can pay with.
Create categories and the products buyers can purchase.
Add the gateways buyers can pay with.